
Ideas, details & craftsmanship
How to attach metal table legs to a wooden tabletop
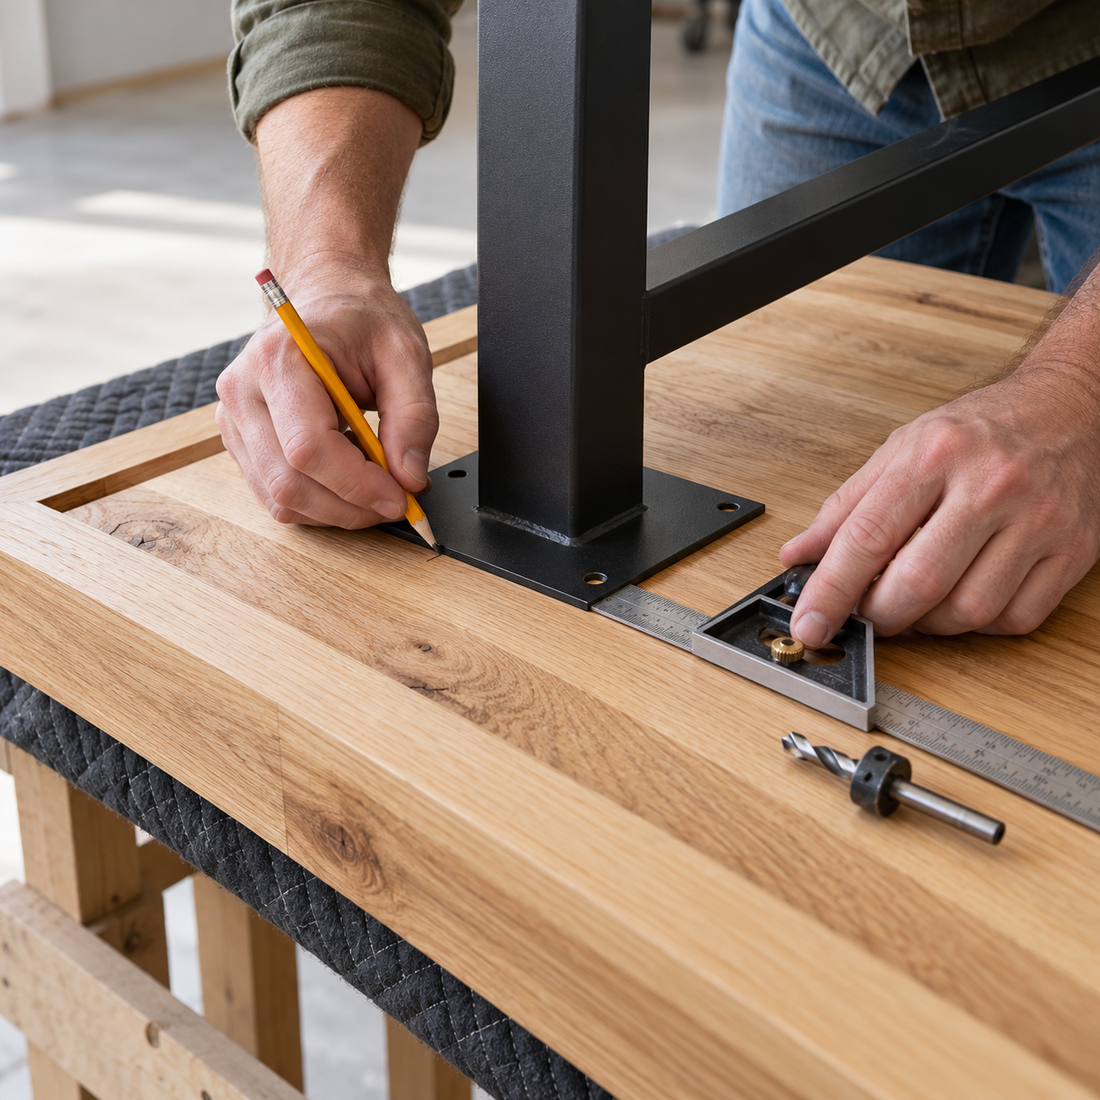
To attach metal table legs safely, first check the tabletop material and thickness, then position the legs, mark every mounting hole and drill only to a controlled depth. The correct fastener depends on the tabletop and the leg's mounting plate, so use the product drawing and the tabletop supplier's instructions rather than copying a screw length from another project.
What to check before you start
- Tabletop material, thickness and available drilling depth.
- The mounting plate dimensions and hole positions of the chosen legs.
- Chair, knee and floor clearance in the final position.
- Fasteners suitable for the tabletop material.
Lay the tabletop upside down on a clean, padded and stable surface. Protect finished faces and edges before placing any steel part on the wood.
1. Position the legs and test the layout
Place the legs in their intended positions without drilling. Measure from the tabletop edges so both sides are symmetrical. Then check that chair legs and knees will clear the steel structure. Masking tape makes it easy to mark reference lines without drawing directly on the finish.
2. Use the mounting plate as a template
Hold each leg firmly in place and mark the centre of every mounting hole. Remove the leg and check the marks before drilling. A small error at this stage can twist the frame or leave the table visibly uneven.
3. Control the drilling depth
Choose a pilot drill only when it is appropriate for the wood and fastener. Set a depth stop or mark the drill bit clearly, leaving a safe margin below the top surface. Never estimate the depth by eye: drilling through the tabletop is one of the easiest mistakes to avoid.
4. Choose fasteners for the actual tabletop
Solid wood, plywood, particleboard and compact board do not hold fasteners in the same way. The screw diameter and length must suit the material, the mounting plate and the available depth. For solid wood, also consider seasonal movement and follow the tabletop maker's fixing guidance. If the combination is not documented, ask the tabletop or fastener supplier before drilling.
5. Tighten progressively
Start all fasteners loosely so the plate can settle without being pulled sideways. Tighten them gradually in an alternating pattern. Stop when the plate sits firmly against the wood; excessive torque can strip the hole or crush weaker board material.
6. Turn the table over and check it
Use a second person for a heavy tabletop. Lift and turn the table instead of pivoting it on one leg. Put it on a level floor, check for movement and inspect every joint. Recheck the fixings after the first period of use, especially when the top is solid wood.
A practical product example
The Thusia metal table leg shows the type of mounting plate whose real hole pattern should be used as the drilling template. Product variants can differ, so confirm the drawing and dimensions of the exact variant you intend to buy.
You can also compare the shapes and mounting plates in the TopFero table legs collection. Keep the tabletop measurements at hand when choosing.
Final checklist
- The exact tabletop material and thickness are known.
- The leg layout has been tested with chairs.
- Every hole is marked from the real mounting plate.
- The drilling depth is physically limited.
- Fasteners match the tabletop and product instructions.
- The finished table is checked on a level floor.
More ideas for your next project
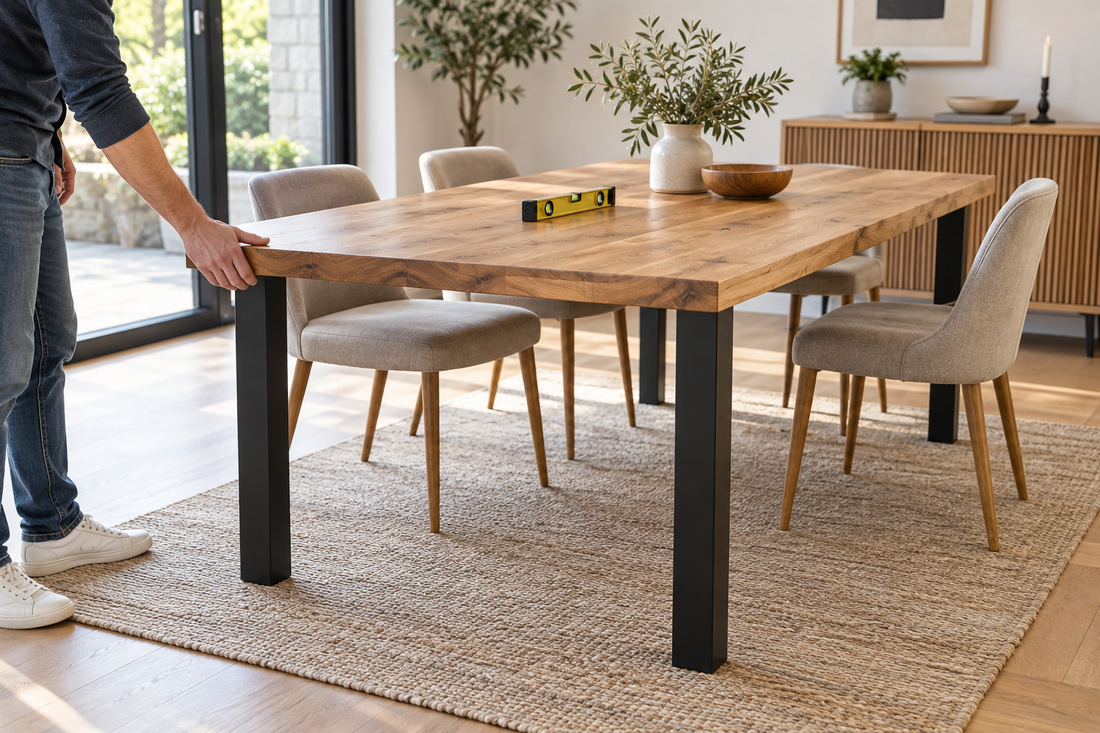
Why does a table wobble? Diagnose it before replacing the legs
Find the real cause of a wobbly table by checking the floor, feet, fasteners, tabletop and frame in the right order.
Read the guide : Why does a table wobble? Diagnose it before replacing the legs
Coffee table height: how to choose the right legs for your sofa
Choose coffee-table height from your sofa seat, tabletop thickness and intended use, then select metal legs for the right finished height.
Read the guide : Coffee table height: how to choose the right legs for your sofa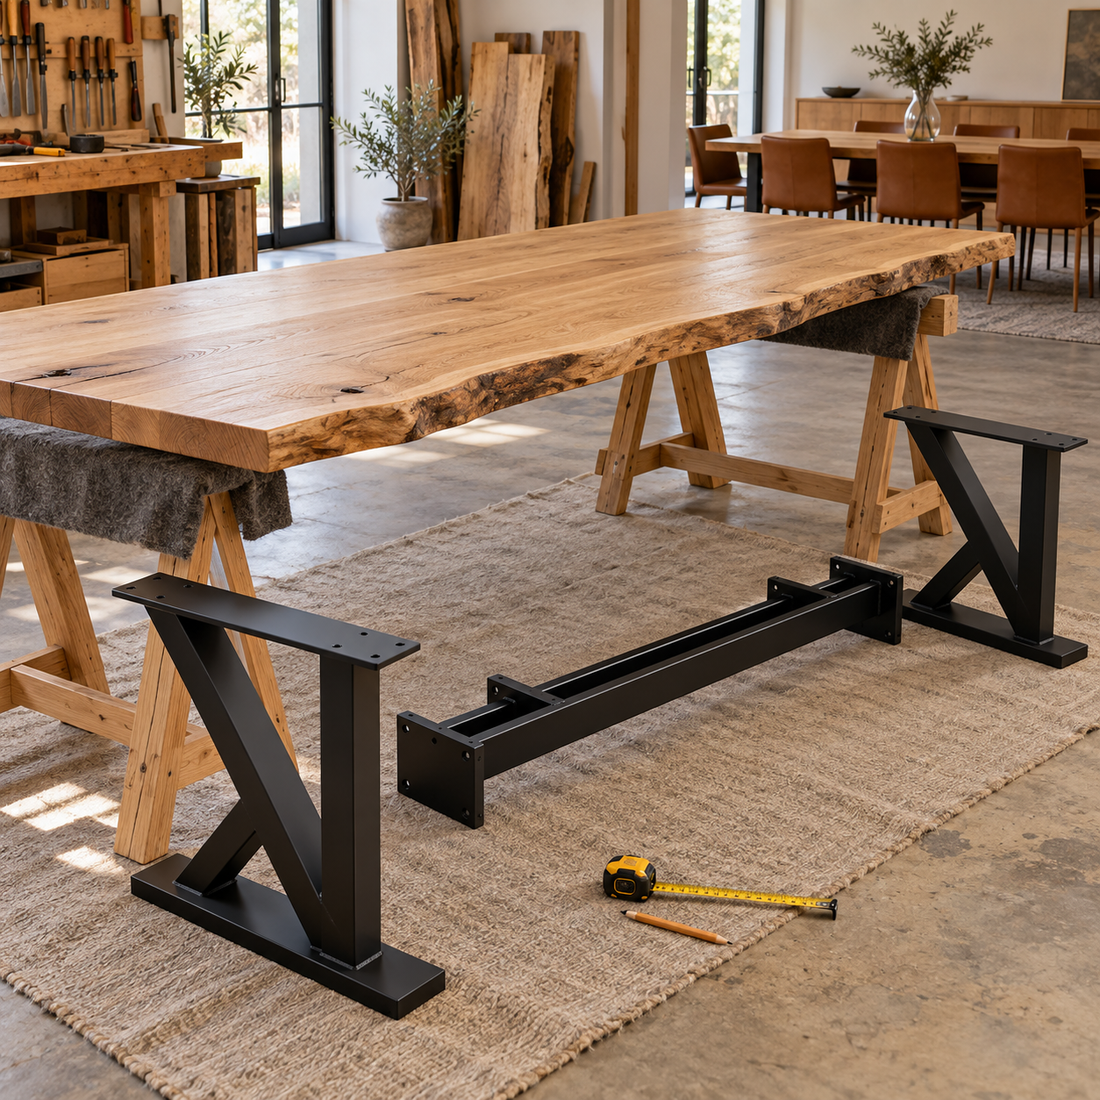
Metal table legs for a solid-wood top: what to check before drilling
Choose metal legs for a solid-wood tabletop by checking the slab, support layout, movement allowance, fasteners, seating clearance and total weight.
Read the guide : Metal table legs for a solid-wood top: what to check before drilling